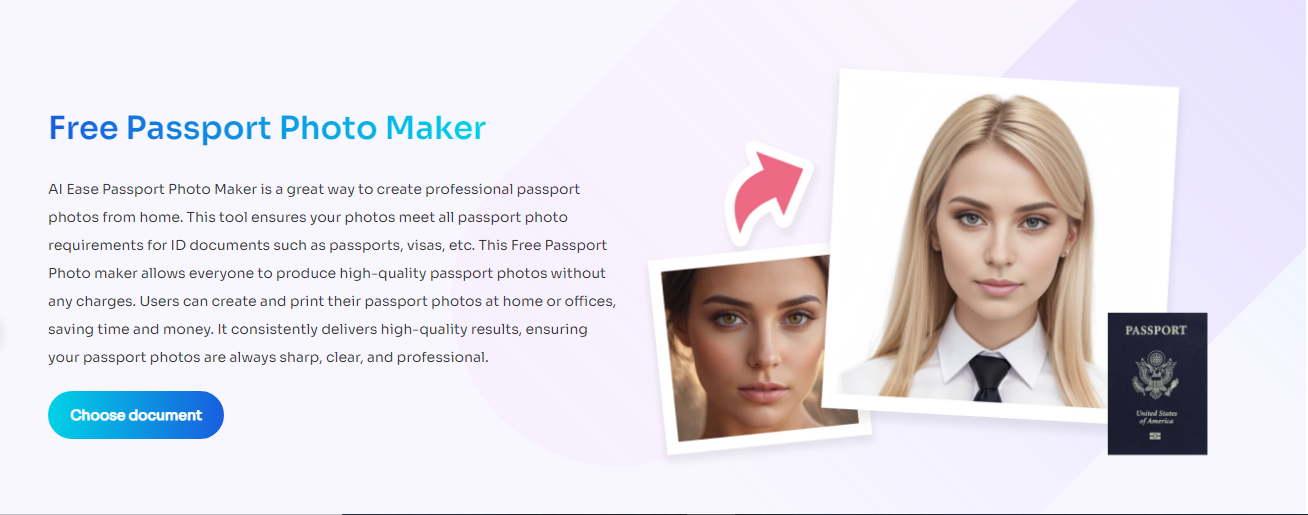
People have busy lives and little spare time for appointments and formal meetings so convenience is the name of the game in the modern world. There are lots of activities that previously needed one to move out of the house and now they can be accomplished within the comfort and nick of your home. One of these duties is having a passport photo – before the arrival of technology, this required going to a professional photographer or photo booth. However, due to the increase in the growth in technology, it is now easier to take a passport photo at home with greater accuracy when using AIEase.
In this guide, we hope to guide you through the course of taking a passport photo at home using AIEase which is a functionalities-packed but easy-to-use passport photo maker. Aside from making it possible to be sure that a photo meets all the features required by the state, this tool also reduces costs and time. Here’s how to get started:
Step 1: Prepare Your Space
In preparation for your passport photo, there are several things that you should always ensure you do before having your photograph taken. Follow these tips to set up the perfect environment:
- Find a Plain Background: A passport photo has to be taken with no background at all or the background should be plain white or off-white. Select a wall or place a sheer white sheet that has no patterns, shadows, or objects that may interfere with the progress of the experiment.
- Ensure Good Lighting: More specifically, natural light is most preferred for the taking of passport photos. Make sure that you sit close to a window should you be working during the day so that you are subjected to the natural light. If natural light cannot be utilized, then soft lighting coming from the lamps or overhead bulbs should be used to avoid having shadows on your face or any item in the background.
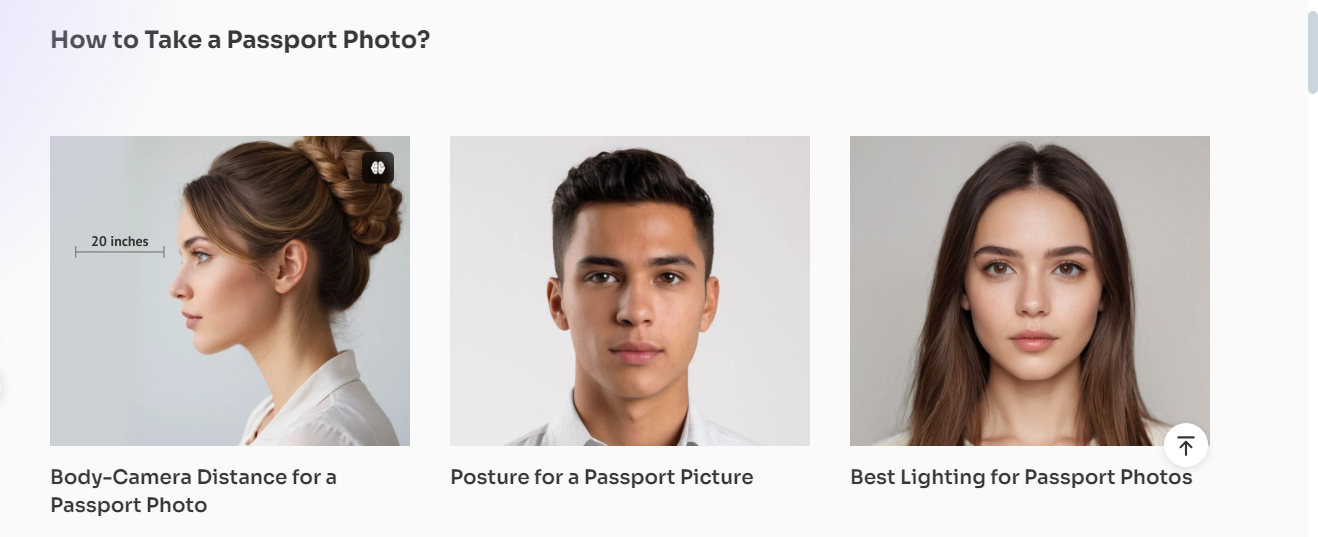
- Position the Camera: Position your camera or Smartphone upon a tripod or any firm surface to reduce movement or shakiness. The camera should be placed at your eye line, right at the same distance that is, 4 to 5 feet from you.
Step 2: Dress Appropriately
So, it is cringe-inducing that people want to dress appropriately when capturing the photo that they’ll use in their passports. Keep the following guidelines in mind:
- Wear Dark Clothing: Do not wear any t-shirts except if it is a plain dark shirt that will not cause any distraction to the white background. Do not wear white or light-colored clothing, garments or accessories, etc, as it becomes difficult to distinguish along with the background.
- No Accessories: Tilt the head and turn the face to one side, and any head accessory such as a cap, scarf, or dark glasses should be removed. The only restriction is the wearing of religious headgear which is allowed provided the face is fully covered.
- Natural Expression: Sit with the face relaxed both eyes open, and the lips shut at a normal skin tone. The face should be more or less expressionless, no smiling at all, and a serious look is preferable.
Step 3: Capture the Photo
When you have achieved cleanliness in your room, and you and your mates are well dressed, then you can take the photo. Follow these steps to ensure a successful capture:
- Position Yourself Correctly: Position your body in front of the background you have set up for you so that distance from the wall does not cast shadows. Your shoulders should be aligned; the upper part of your face should be in the horizontal center of the frame.
- Use AIEase to Capture the Photo: To begin with, adapt the AIEase on a smartphone or a computer. The tool will also assist in the placement and photo-taking process. AIEase has a smart option that checks to ensure that your uploaded photo has the required head size, position, and background contrast.
- Check the Guidelines: The last shot you make should meet the requirements of a passport photo in your country as prescribed by the authorities. With AIEase, it also provides real-time prompt responses in terms of suggestions and requirements for your photo.
Step 4: Edit the Photo with AIEase
Without any doubt, the most noticeable function of the AIEase is the editing function. Once you’ve captured your photo, AIEase allows you to make adjustments to ensure it meets passport photo standards:
- Resize and Crop: It also enables you to trace the cropped picture to the right size for a passport photograph. AIEase will help you through this, and make sure that your face is the right size for the frame, and in precisely the right position.
- Enhance Clarity: For some images, this may cause the need to sharpen the picture or even brighten it to bring out the details, and for this AIEase is the tool because it is not invasive and produces outstanding results.
Step 5: Save and Print Your Photo
That is the time we want to save our nicely edited picture using AIEase and perhaps even have a print of it. Here’s how:
- Download the Photo: When you are done with the final product, choose and download the photo from the AIEase in the right format, which is generally JPEG and the right resolution.
- Print Your Photo: If you desire, you can print the photo in the comfort of your home using a photo printer or you can go to a photoshop. AIEase directly gives you the dimensions and specifications for printing that you require.
- Double-check the Print: Make sure the printed photo is standard and complies with the industry’s required passport photo magnification. The printed image should be clear somewhat and blurry with no twist of colors.
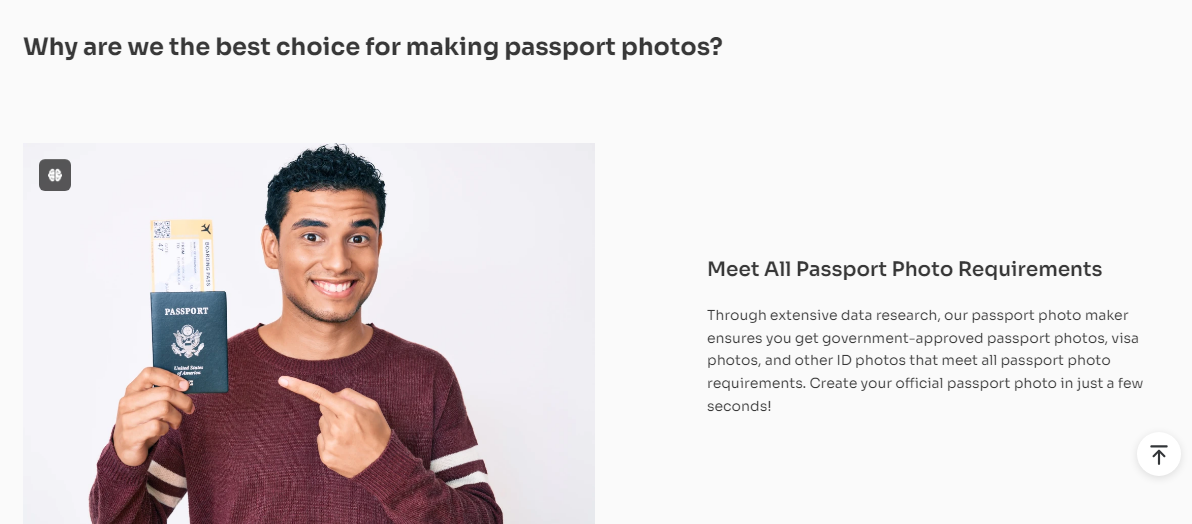
Why Choose AIEase for Your Passport Photo?
AIEase is an exceptional tool for taking passport photos at home for several reasons:
- User-Friendly Interface: AIEase is designed as a novice product thus its user-friendly interface to take a picture, manage, and print your passport photo.
- Accuracy and Compliance: It means that with our AIEase, you stand to benefit in that your photograph meets all standard requirements of a passport photo hence increasing the chances that your application will not be rejected because of a wrong photo.
- Time-Saving: What is more important, there is no need to schedule appointments and go to a photo studio having the possibility to use AIEase. This means that you can take your photo and edit it at a time that is most appropriate to you.
Conclusion
By use of AIEase, it is now very simple to take passport photo at home. This great tool helps you make sure your photo is okay with all those requirements to save you time and money. So no matter if you want some passport photos for a new passport, or you merely require some for renewal, AIEase is for you.
Ready to take your passport photo at home? Visit AIEase today and experience the convenience and accuracy of this innovative tool.